Why Exposure Is More Than Just Numbers
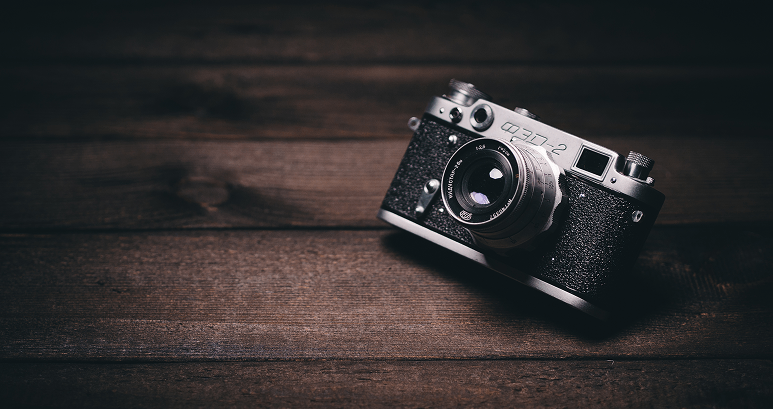
Living and working as a photographer in Portland, Oregon, I’ve spent years chasing fleeting moments across the Pacific Northwest—from rain-kissed Douglas firs to the blurred glow of Seattle’s evening traffic.
Like every photographer, I learned early on that shutter speed, aperture, and ISO form the foundation of exposure.
In theory, I understood them. In practice? It often felt like assembling a puzzle with missing pieces.
What finally changed everything wasn’t memorizing charts—it was this realization:
There is no one-size-fits-all camera setting. Every photograph starts with intention.
In this article, I’ll break down the exposure triangle the same way I do in my photography workshops—step by step, with real-world examples—so you can confidently translate technical knowledge into expressive images.
Understanding the Exposure Triangle (At a Glance)
Before we dive deeper, here’s a quick overview:
- Shutter Speed → Controls motion and time
- Aperture → Controls depth of field and focus
- ISO → Controls light sensitivity and image noise
Mastering photography isn’t about controlling all three at once—it’s about deciding which one matters most in the moment.
Shutter Speed: Controlling Motion and Telling a Story
Shutter speed determines how long your camera sensor is exposed to light.
I often explain it like blinking:
- A fast blink freezes a moment
- A slow blink lets motion blur into the image
Shutter speeds are written as fractions (1/500) or seconds (2s).
When to Use Fast Shutter Speeds (1/250s and Faster)
Fast shutter speeds are ideal when you want to freeze action.
Best use cases:
- Wildlife photography
- Hummingbird wings: 1/1000s
- Deer in motion: 1/500s
- Sports photography
- Soccer: 1/1250s
- Basketball: 1/2000s
- Water splashes, dogs shaking off rain, street action
📸 Real example:
While photographing a mountain bike race in Bend, Oregon, I used 1/2000s to capture flying mud and rider tension. Continuous shooting was essential to catch the decisive moment.
When to Use Slow Shutter Speeds (1/60s and Slower)
Slow shutter speeds introduce motion blur, creating mood and artistic flow.
Best use cases:
- Night traffic: 10–30 seconds for light trails
- Rivers and waterfalls: 1–5 seconds for silky water
- Creative portraits: 1/30s to blur movement while keeping faces sharp
💡 Pro tip:
Below 1/60s, always use a tripod—or brace yourself intentionally if blur is part of the vision.
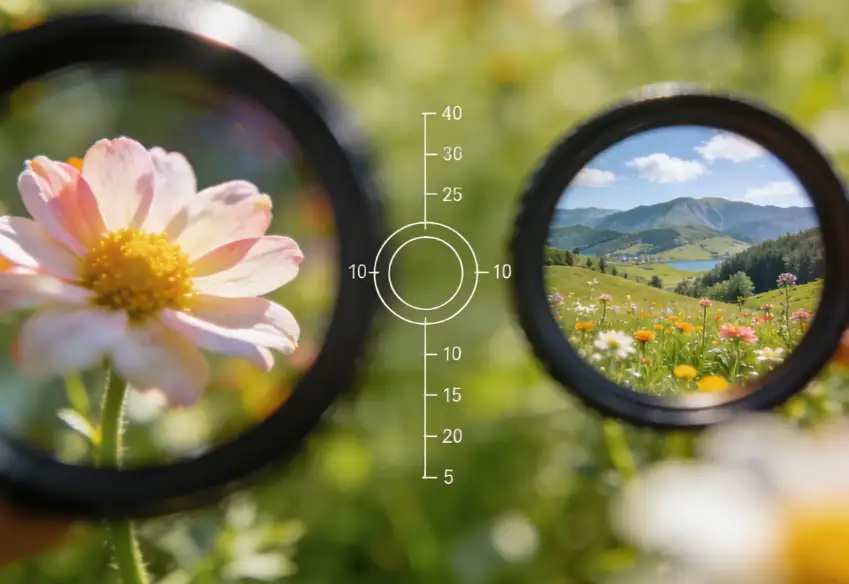
Aperture: Shaping Focus and Guiding the Viewer’s Eye
Aperture controls the size of the lens opening, affecting:
- How much light enters the camera
- How much of the image is in focus (depth of field)
Key rule to remember:
Smaller f-number = larger opening = more light = shallower depth of field
Wide Aperture (f/1.4 – f/4): Isolating the Subject
Perfect for separating your subject from the background.
Best use cases:
- Portrait photography: f/1.8 – f/2.8
- Macro photography: f/2.8 – f/4
- Food photography: f/2.8 for visual impact
📸 Real example:
When photographing my neighbor’s black cat, I shot at f/2.8, turning a cluttered living room into soft bokeh—letting the cat command full attention.
Narrow Aperture (f/8 – f/22): Keeping Everything Sharp
Ideal for scenes where detail matters across the frame.
Best use cases:
- Landscape photography: f/11 – f/16
- Architecture: f/8 – f/11
- Group photos: f/8
📸 Real example:
In the Cascade Mountains, I used f/16 to keep wildflowers in the foreground and distant peaks equally sharp.
ISO: Brightness with a Trade-Off
ISO controls your sensor’s light sensitivity.
I often compare it to turning up the volume on a radio:
- Louder sound = more noise
- Higher ISO = more grain
Choosing the Right ISO
- Low ISO (100–400):
Clean, sharp images → best for daylight - High ISO (800–6400+):
Brighter images in low light → more noise
📸 Real example:
While shooting Portland Union Station at night, I pushed to ISO 12800 to preserve handheld sharpness—accepting visible noise as the creative cost.
💡 Golden rule:
Always start at the lowest ISO. Increase it only after adjusting aperture and shutter speed.
Real-World Exposure Combinations
Instead of memorizing rules, start with a question:
What do I want this photo to feel like?
Scenario 1: Sunset Beach Portrait
- Aperture: f/2.8 (soft background)
- Shutter Speed: 1/125s (sharp subject)
- ISO: 100–400 (balanced exposure)
Scenario 2: Waterfall in a Forest
- Shutter Speed: 1 second (smooth water)
- Aperture: f/16 (prevent overexposure)
- ISO: 100 (maximum image quality)
Practice Over Perfection
When I first learned photography, I photographed the same tree over twenty times, changing one setting at a time—just to see what happened.
That practice taught me more than any manual ever could.
Try this exercise:
- Do you want motion frozen or flowing?
- Should the focus be isolated or expansive?
- Adjust one parameter first, then balance the others.
📌 Remember:
There is no “correct” exposure—only the one that helps you tell your story.